What We Offer 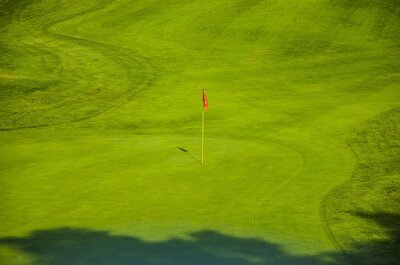

Course Features
Championship Layout
18 holes designed to challenge players of all skill levels
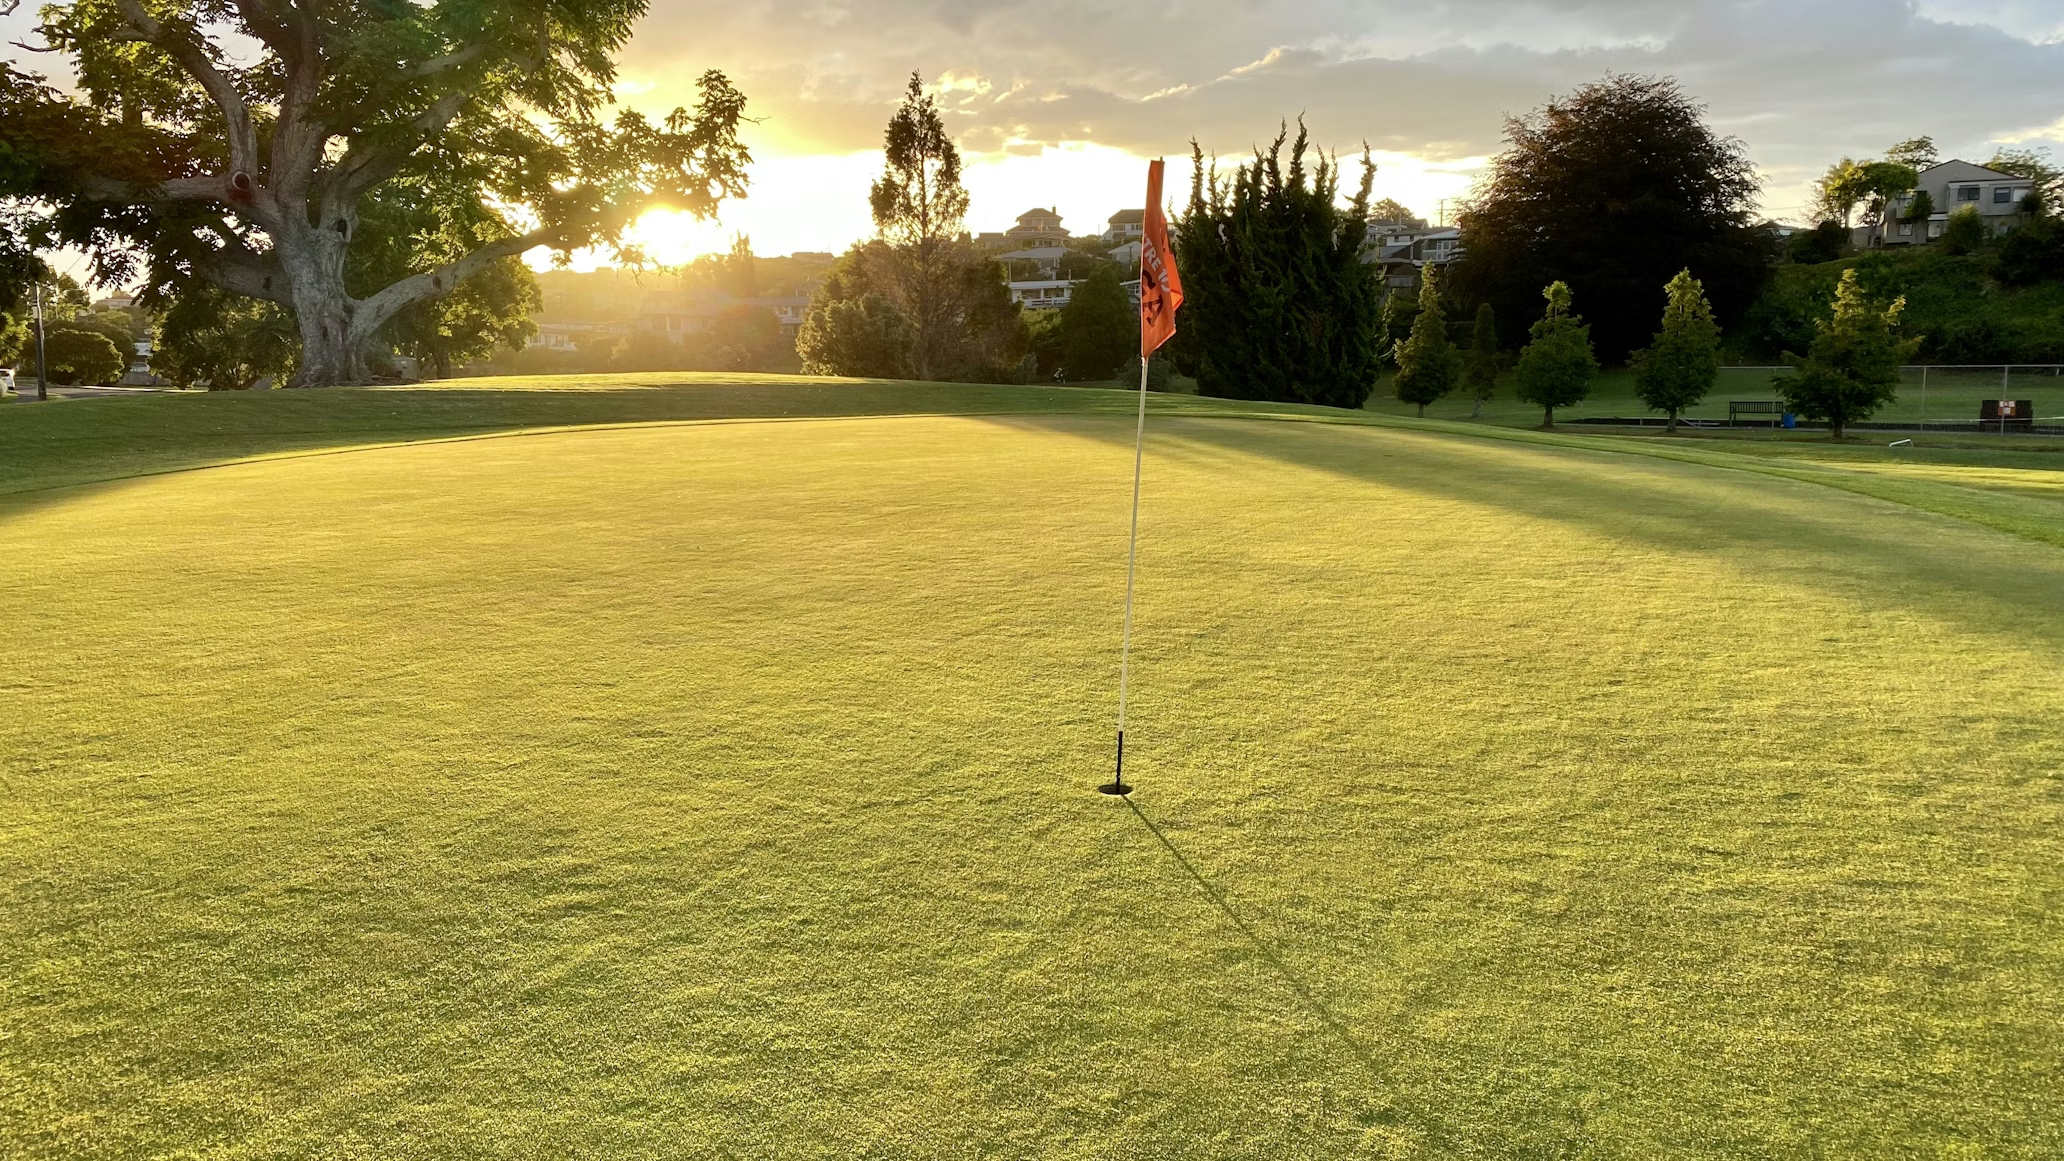
Natural Beauty
127 acres of pristine Indiana landscape with mature trees
Course Conditions
Meticulously maintained fairways and greens
Practice Facilities
Driving range, putting green, and chipping area
Course Details
Tee Box Information
| Tee | Rating | Slope | Yards |
|---|---|---|---|
| Championship | 71.2 | 126 | 6509 |
| Members | 69.9 | 125 | 6117 |
| Resort | 67.4 | 120 | 5519 |
| Senior | 68.0 | 116 | 4808 |
| Forward | 66.0 | 112 | 4462 |
Signature Holes
Featured Holes
#1
Par 4
385 yards
A great opening hole with a fairway that slopes gently left to right.
#9
Par 5
520 yards
A challenging par 5 with water coming into play on the second shot.
#18
Par 4
410 yards
A memorable finishing hole with an elevated, well-protected green.
Ready to Play?
Experience championship golf at Blue Bear Golf Club. Book your tee time today.